How to Roll a Joint: A Practical Guide for New Yorkers
To roll a joint, you need three things: rolling papers, a crutch or filter tip, and ground cannabis flower. Place about 0.5–1 gram of ground flower in…
04/16/2026|admin
Rolling a better joint comes down to four fundamentals: properly ground flower, a quality filter tip (crutch), even paper packing, and a smooth twist at the closed end. Master these and your joints burn evenly without canoeing, run smooth without harshness, and hold their shape from light-up to roach. At The Flowery, you can buy rolling papers, grinders, and pre-cut filter tips that make the entire process easier — or skip the learning curve entirely with pre-rolls and come back to rolling once you have built familiarity with flower.
Three reasons:
1. Cost per gram. Whole flower is 25 to 40% cheaper per gram than pre-rolls. If you smoke regularly, rolling your own saves real money.
2. Custom dose control. You decide whether the joint is 0.3g or 1g. Pre-rolls come in fixed sizes.
3. Strain mixing. You can blend two strains in one joint. Pre-rolls are single-strain by default.
The trade-off is the learning curve. Your first 10 joints will look bad. Your first 25 will smoke unevenly. By joint 50, most people can produce a respectable joint reliably.
The essential rolling kit:
| Item | Cost | Notes |
|---|---|---|
| Grinder (2-piece or 4-piece) | $15 to $30 | 4-piece collects kief in a bottom chamber |
| Rolling papers | $3 to $8 per pack | Thin papers burn slower and cleaner |
| Filter tips / crutches | $2 to $5 per pack | Pre-cut or roll your own from paper |
| Rolling tray | $10 to $30 | Optional but keeps everything in one place |
The accessories section at The Flowery carries all of the above. Total starting investment is $30 to $60.
A proper grind is half the battle.
With a grinder:
Without a grinder:
Use scissors and a small cup, or break up by hand. Hand-breaking produces less even particles and slightly less efficient burning, but works in a pinch.
What to avoid:
For a 1g joint, you need about 0.6 to 0.8g of ground flower (after stem removal).
The filter tip serves three purposes:
Pre-cut crutches: Buy a pack of pre-cut filter tips ($2 to $5). Easy mode.
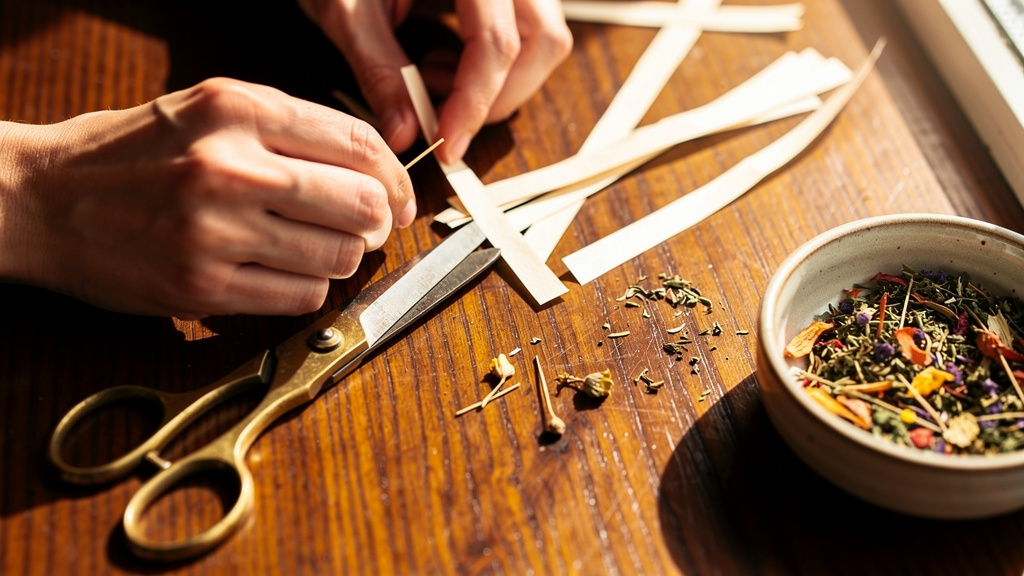
DIY crutch: Cut a small rectangle of stiff paper (business card thickness works), about 0.5″ wide by 2″ long. Roll it into a tight cylinder.
The W or M fold: A common technique is to make 2 to 3 accordion folds at one end of your paper rectangle, then roll the rest around the folds. This gives the filter more structure.
Filter diameter should match the joint you want — about pencil-thick is standard.
Hold the rolling paper with:
Place the filter tip on the corresponding side, about 1/4″ from the paper edge.
Sprinkle ground flower evenly along the length of the paper from filter end to the closed end. Distribute slightly more flower in the middle than at the ends — this prevents over-stuffing the tip area.
For a 1g joint:
Pinch the paper between thumbs and forefingers of both hands, with the flower in the center. Roll back and forth gently to compact the flower into a cylinder shape. The goal is to settle the flower into a uniform tube, not to pack it tight yet.
The shape should be:
This is the hardest step.
The classic mistake: trying to roll too tightly. A medium-tight roll burns better than a packed-tight one.
After sealing, you will have a tube with the filter at one end and an open mouth at the other. Use a pen, chopstick, or other narrow tool to gently pack the flower toward the filter end. This:
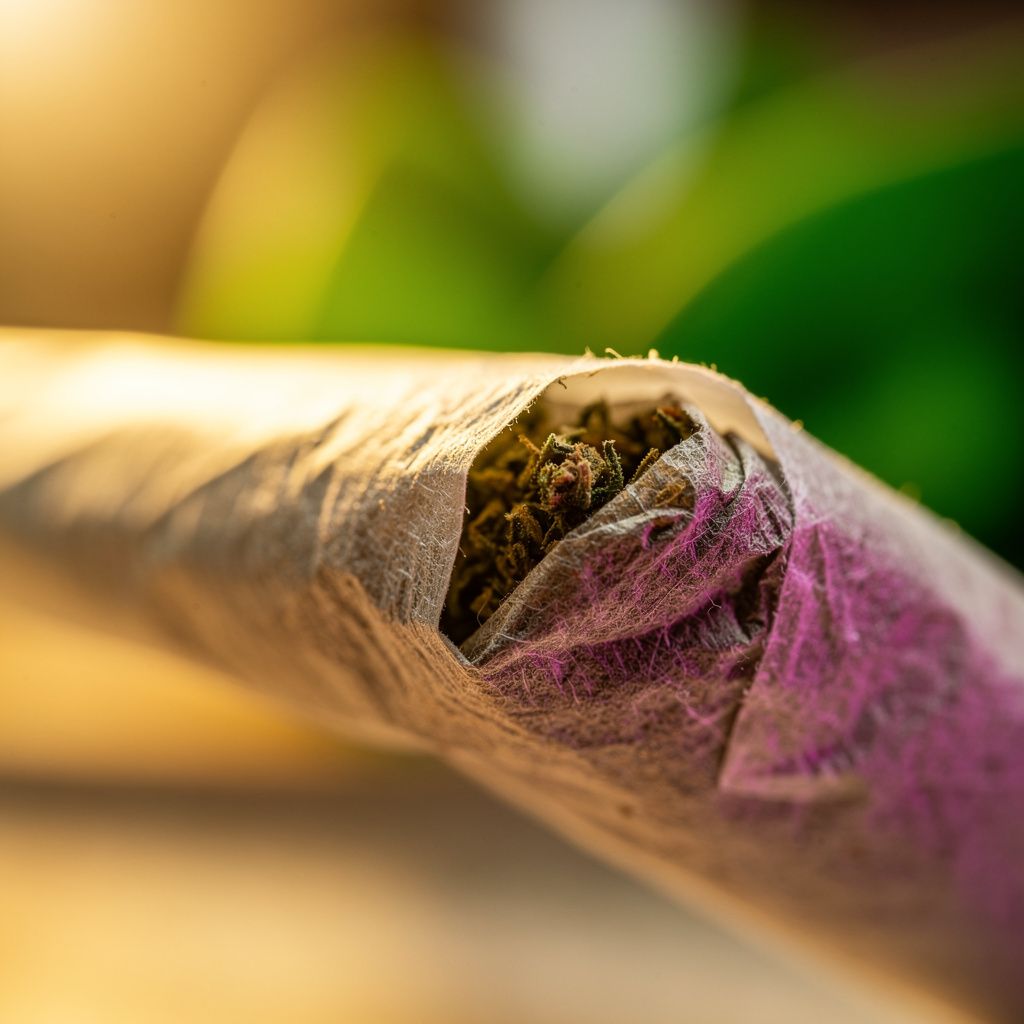
Twist the paper at the open end to seal it. The twist:
Twist firmly but not so hard that you tear the paper.
Key Takeaway: Grind evenly, use a real filter tip, lay flower in an even line, tuck-and-roll with medium tightness, pack to remove air pockets, twist the end. The first 10 joints will be ugly. By the 25th, you will have it down. Until then, pre-rolls are always an option.
Canoeing. When one side of the joint burns faster than the other, creating a “canoe” shape. Usually caused by uneven flower distribution. Fix by tilting the joint as it burns so the slow side ignites.
Running. When the joint burns down one side. Similar fix to canoeing — tilt to even out.
Loose flower. When flower falls out of the open end. Either pack tighter before twisting, or twist the end more thoroughly.
Harsh smoke. Usually means the flower was ground too fine, or there was too much paper used. Re-roll with looser packing.
Hard draw. Means the joint is too tightly packed. Roll again with less compression.
For your first 10 joints, focus on:
After 25 joints, you can experiment with different papers, sizes, and techniques.
If rolling is genuinely not for you, pre-rolls at The Flowery offer:
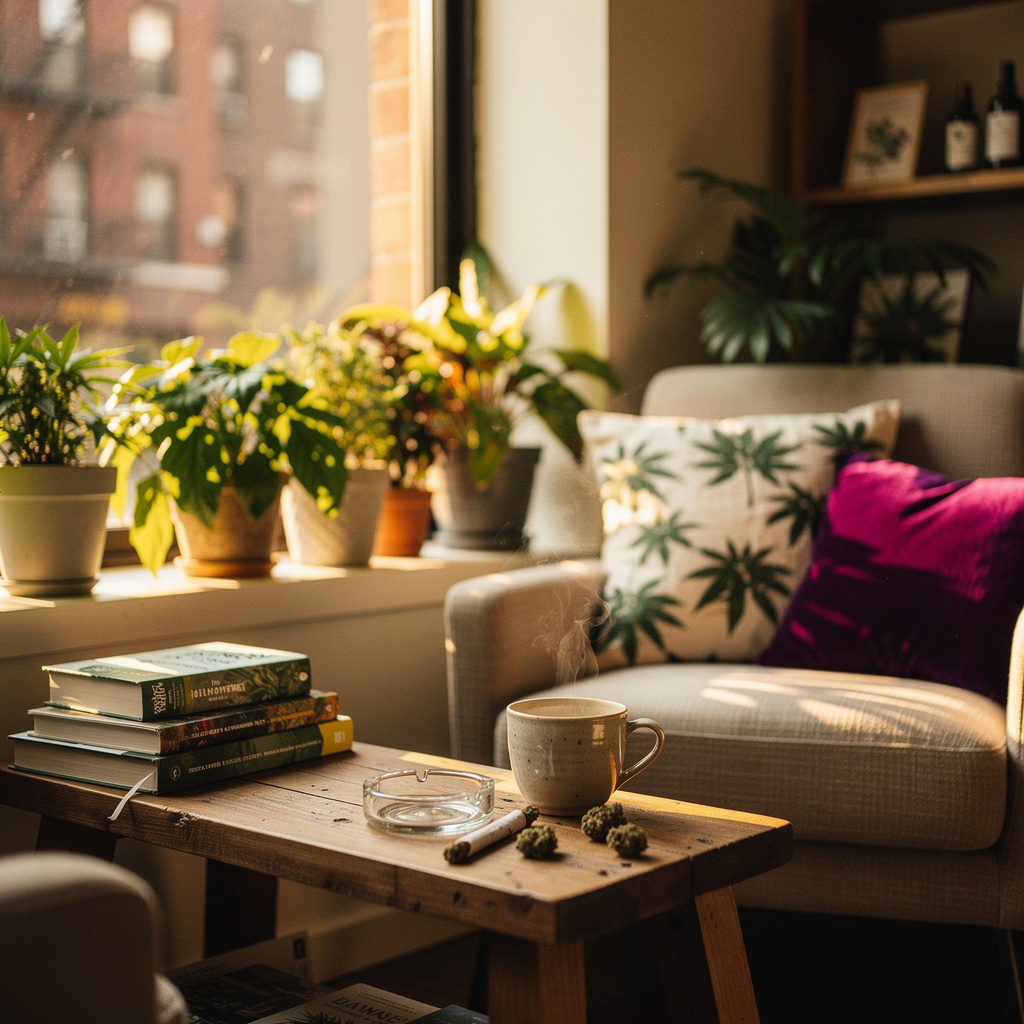
The cost premium is real but the convenience is significant. Many regular smokers keep pre-rolls on hand for grab-and-go situations and roll their own for relaxed home sessions.
Once rolled, joints store best:
Rolled joints stay fresh for 1 to 2 weeks easily. Longer storage requires more careful humidity control.
How long does it take to learn to roll a joint well?
Most people produce a passable joint by the 10th attempt and a consistently good one by the 25th. Hand-eye coordination varies.
What is the easiest rolling paper for beginners?
Slightly wider papers (1 1/4 size or king size slim) are more forgiving than ultra-thin papers. Hemp or rice papers burn cleanly and are widely available.
Are blunts harder to roll than joints?
Blunts (rolled in tobacco wrappers) are generally easier to roll because the wrappers are thicker and more forgiving. The trade-off is the tobacco component, which some buyers avoid.
Can I use a cigarette filter instead of a crutch?
Some people do, but it changes the smoke (cigarette filters can affect cannabinoid delivery). Pre-cut paper crutches are designed specifically for cannabis use.
How many puffs are in a 1g joint?
Roughly 15 to 30 puffs depending on how deeply you inhale and how much you smoke per puff. Most people get 2 to 4 sessions out of a 1g joint.
What is the difference between hemp papers and rice papers?
Hemp papers are slightly thicker and slower-burning. Rice papers are thinner and burn faster but cleaner. Both are popular options.
Do I need to crutch my joints?
A crutch is technically optional but strongly recommended. Without one, flower falls into your mouth and the joint loses structural integrity at the filter end.
Can I roll outside or only at home?
Rolling is just paper-and-flower assembly — you can roll anywhere. Consumption rules are separate. New York permits weed consumption in private spaces and select public areas but not in vehicles or most public-facing locations.
To roll a joint, you need three things: rolling papers, a crutch or filter tip, and ground cannabis flower. Place about 0.5–1 gram of ground flower in…
Pre-rolls are cannabis joints rolled and ready to smoke—the easiest entry point for first-time buyers. No rolling skills needed, consistent dosing, in…

Rolling a joint is a skill. It takes practice, patience, a flat surface, and the kind of fine motor control that disappears entirely after your first …